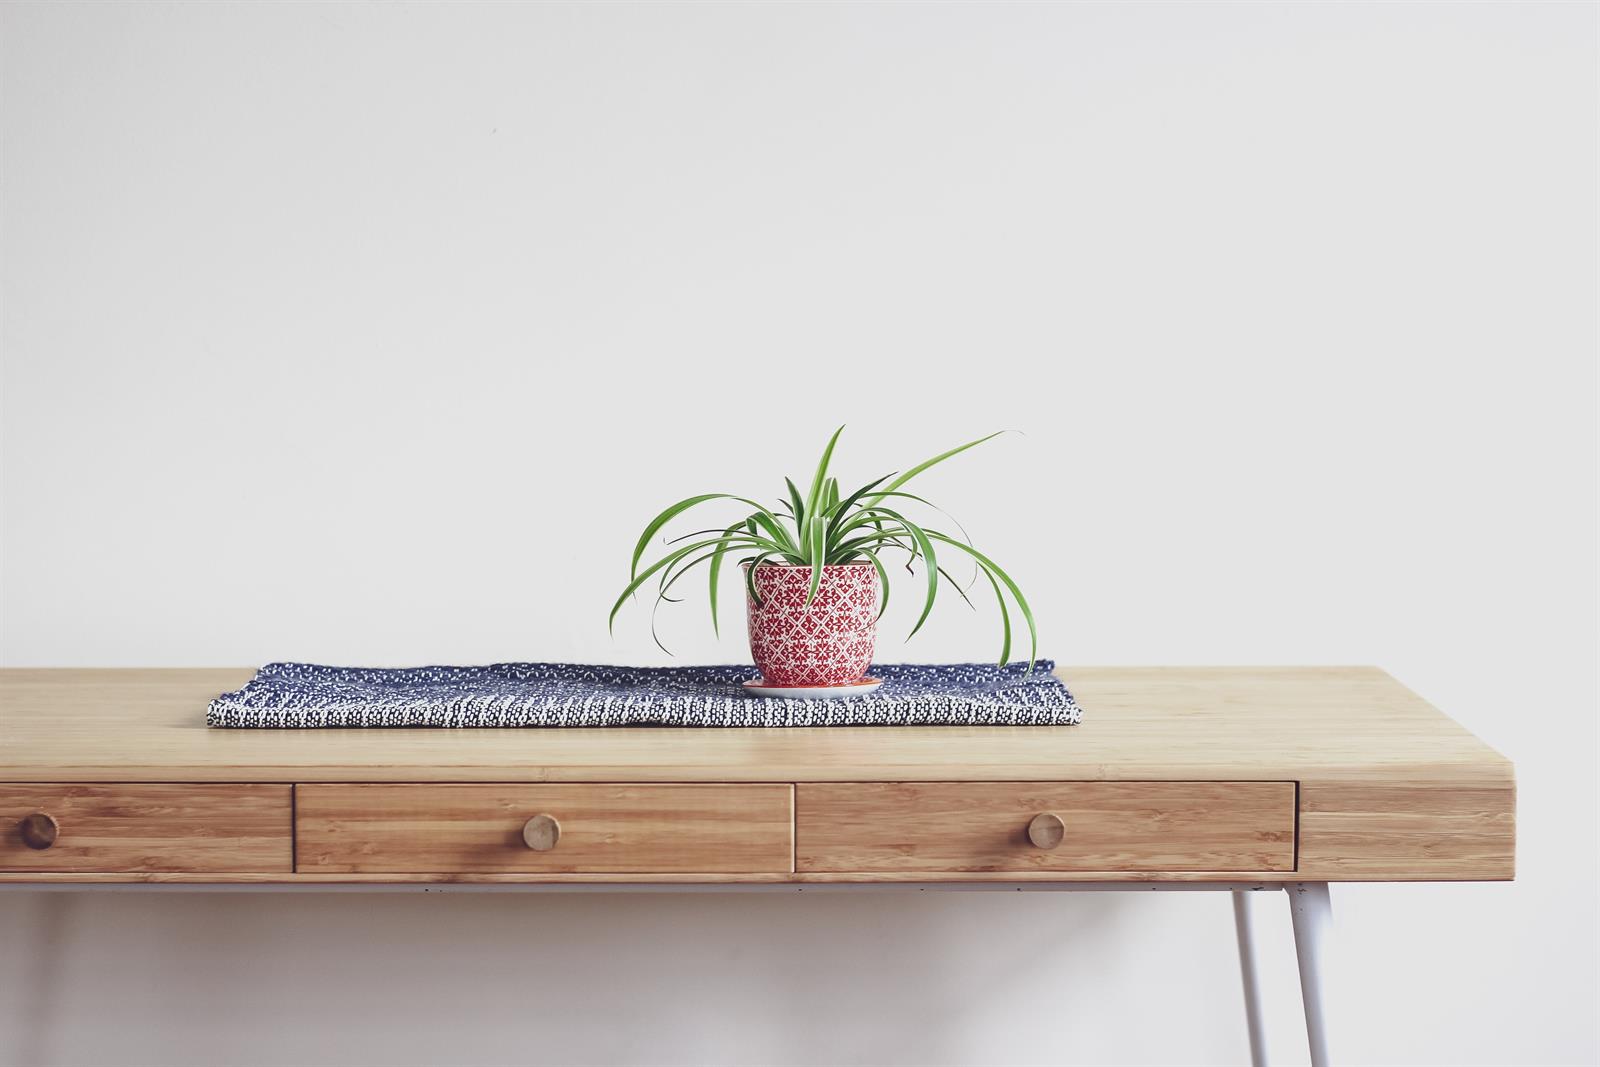
Winter Houseplant Care
The charm of houseplants is universal, but many are allowed to die needlessly. Forget about ‘green thumbs’. Anyone can grow the more popular types and keep them looking attractive. If your plants look sickly and unattractive; it is a matter of poor choice, incorrect upkeep or lack of knowledge about care requirements. This discussion will tell you the secrets of success and show you the solutions to the special problems you are likely to find.
Follow these “Golden Rules”:
1. Don’t drown
them - roots need air as well as water, keeping them soaked at all times means
certain death for most plants. Always have a drainage hole in the pot (the number 1
horticulture rule for houseplants)! Never let the pot sit in a saucer of water, even ¼
inch of water in a saucer means there is at least 1" of water-logged soil in the bottom
of the pot allowing molds to grow – Phytophthora and Pythium are the water
molds that cause root rot disease.
Thorough but infrequent watering is best. This means pouring enough water into the top of the container and allowing it to drain out of the bottom. It is best to do that 3 times in a row, allowing complete drainage after each application. Once a month (or at least once a quarter), ‘leach’ the pot to prevent mineral build-up. We have highly mineralized water – H2O is used by the plant and then evaporates from the surface of the soil. The minerals stay in the soil unless you “wash” them out by leaching. Leaching is watering and draining at least 5 times in a row. Follow by replacing the nutrients using a good quality liquid fertilizer, like Dyna-Grow Liquid Plant Food 7-9-5 with 11 micronutrients.

Use the best water moisture indicator available - your finger. Feel the surface of the soil on a regular basis until you understand how often the soil and root zone dries out. Know the quality of your water. Make sure that your water is not “softened” using a sodium water softening product.
2. Give them a rest - nearly all plants need a rest in winter, which means less water, less fertilizer and less heat than during the active growing season.
- Plants go through a semi-dormant period, where they slow down and do not grow as quickly as they do when the days are longer and brighter due to sunlight.
- Keep plants cooler when light levels are lower to prevent stretching for light. (Etiolation, also known as "stretching" is when plants increase their intermodal length trying to get closer to the sun).
- Reduce fertilizing from the end of November to the end of January. Do not repot until two months before the plant goes into the active growth period, usually the end of February or early March is best.
- The best methods are placing a table-top cool air humidifier in the room.
- Elevating the plant with humidity trays, where plants sit on top of grids, are also helpful. These are also called “drip trays”.
- Many experts recommend gravel trays that hold water below the base of the pots.
- A superior solution is a product called the Down Under Plant Stand, that elevates the bottom of the pot 1 ½ inches above the bottom of the saucer. These are excellent for larger plants in a collection, the ones that are difficult to carry to a sink whenever they are watered.
- Misting is the least effective as it makes the humans feel better than the effect on the plant.
- Group plants together - nearly all plants look better and grow better when grouped together due to increased humidity.

4. Treat trouble promptly - trouble will strike whether you are an expert or a beginner. One or two scale insects or mealy bugs are easily picked off, an infestation may be incurable. Overwatering is not fatal at first, but if prolonged will kill. Learn to recognize the early signs of trouble. Use I.P.M. (integrated pest management) scouting methods, examining plants on a regular schedule. Recognize common insects:
1. Aphid - try a stream of cold water; or pyrethrum or permethrin spray
2. Cyclamen mite - use systemic insecticide or destroy plant
3. Mealy bug - isopropyl alcohol on a Q-tip; or pyrethrum or permethrin
4. Scale - horticultural (paraffinic) oil; NOT dormant or Volck oil or a systemic insect control
5. Fungus gnat - let soil dry out, use sticky tape for adults, systemic granules or nematodes or Bt for the larva
6. Red spider mite - pyrethrum or resmethrin spray and/or sulfur spray
7. Whitefly - systemic granules and sticky yellow tapes; or take plant outside in warm weather and spray with a contact or liquid systemic insecticide.
8. Slugs or snails - use Sluggo iron phosphate granules on soil surface
9. Millipedes - use Sluggo with Spinosad on soil surface
To use I.P.M. Control methods, start using the least toxic control and proceed to stronger controls based on population size. Apply the least amount of chemicals at the most beneficial time to control the largest amount of pest population.
5. Learn to repot - after a year or two many plants outgrow their containers, deplete the nutritional value of the potting medium or require frequent watering. In most cases, the plant just needs to be repotted into a larger container or fresh potting medium. Most house plants thrive best in pots which appear to be too small for the amount of leaf and stem present. It is a mistake to repot into a larger pot unless the plant is definitely 'pot-bound'.1. First use cold water to wash pests away
2. Next use insecticidal soap
3. Next use Horticultural oils
4. Next use plant derived pesticides
5. Finally use systemic chemicals and/or chemical sprays.
The signs of being ‘Pot-Bound’:
1. Stem and leaf grow very slow even when the plant is fed regularly in the spring and summer2. Soil dries out quickly, so frequent watering is required (more often than 1 time per week)3. Roots growing through the drainage hole.4. Remove the pot from the root ball to view roots growing around the outside of the root ball, so that not much soil is visible.
The best technique is:
1. Water plant thoroughly
2. One hour later, remove it from the original pot by running a knife around the edge and gently knocking the root ball out of the pot.
3. Carefully tease out some of the matted roots, and remove any rotten roots
4. Place plant so that it will grow at the same level at which it was growing in the original pot.
5. Gradually fill around the root ball with potting soil that has been dampened.
6. Firm the potting soil with the thumbs, and tap the pot on the table to settle the medium and fill any air pockets.
7. Water thoroughly, so that all the medium is moist and until water drains out of the bottom of the pot.
8. Place the plant in the shade for about a week, misting daily to avoid water stress.
9. Place plant in normal growing area and treat normally.
6. Choose wisely - the plant must be able to survive in the home you provide for it;
even an expert can not make a shade-lover survive in a sunny window. Understand the light
conditions of the location.

7. Have the proper tools - basic tools for success include a watering can with a long, narrow spout, a reputable brand of potting soil, pots with drainage holes, humidity trays, liquid fertilizer, safe pest killer, a soft sponge and small sized pruning shears.
8. Learn each plant’s specific needs - when you try to match a plant’s natural growing conditions, the success rate increases and the life of the plant is extended. See examples of good reference books or get a Chalet Plant Fact Sheet.
9. Light - the most important factor in a successful indoor garden is light. All plants need light so plan your plants around your windows or provide artificial lights.
- South facing windows support sun-loving flowering plants
- East and West facing windows receive half-day sun, providing bright light but not direct sun
- North windows get the least amount of light, supports foliage plants only.
- Factors that affect amount of light entering the windows need to be considered, like shade trees, buildings or foundation plants and reflected light from water or concrete.
Artificial lights are an excellent option to enhance light intensity and to increase day
length/- Even in the brightest window, the light available indoors is only a fraction of the
wattage of direct sunlight. Plan to keep the artificial lights on for 12-14 hours per day -
but never 24 hours per day (at most 16 hours for succulents and some orchids). The types of
artificial lights include:
- LED lights – red, blue or full spectrum types
- Fluorescent tubes - warm white and cool white for full spectrum
- Plant lights – broad spectrum incandescent
